Article: How to Write Kanji in Japanese Calligraphy

How to Write Kanji in Japanese Calligraphy

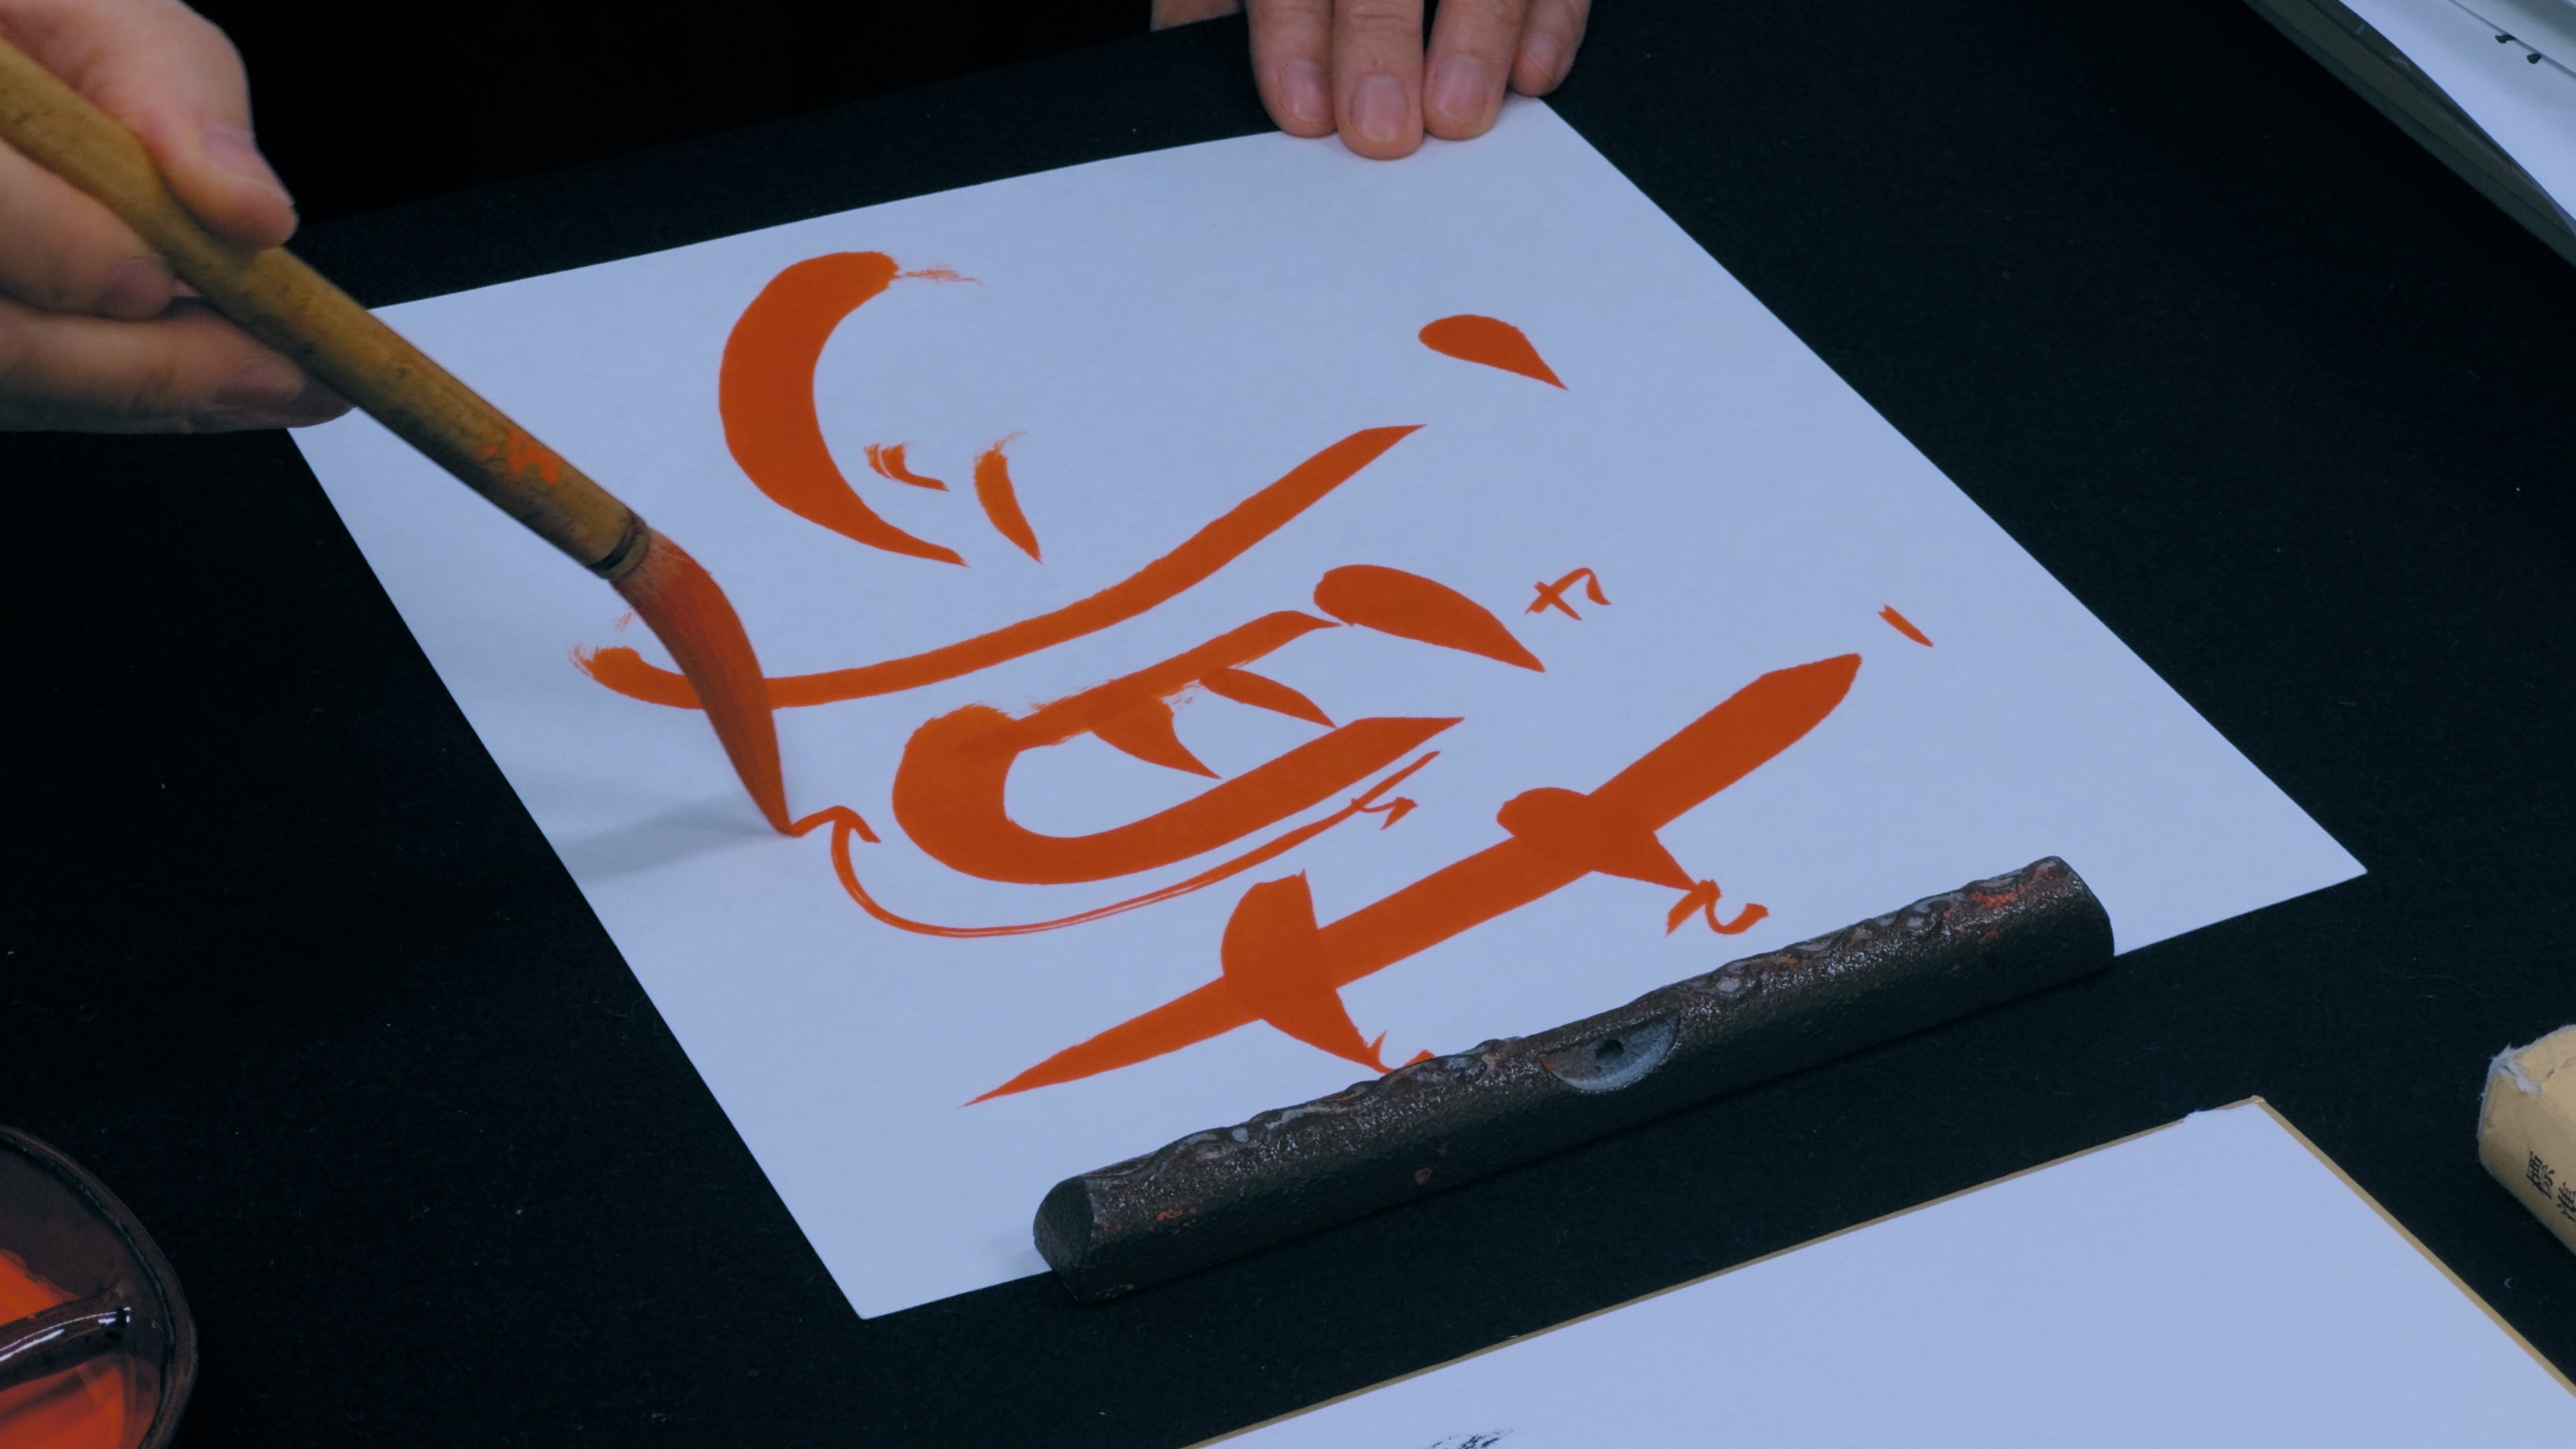
Japanese calligraphy (shodō) is the artistic way of writing kanji characters with a brush and ink. It is one of Japan’s most revered traditional arts. In shodō, each stroke is made with mindfulness and flow, turning writing into art.
This beginner’s guide will explain how to write kanji using classic calligraphy techniques. We’ll cover the essential tools, fundamental strokes, step-by-step brush writing, common mistakes to avoid, and the cultural significance behind this practice. The tone is friendly and educational – perfect for beginners ready to dip their brush into the world of Japanese calligraphy!
Essential Tools for Japanese Calligraphy
Before you begin, gather the right tools. In East Asian calligraphy, these are often called the “four treasures of the study”: the brush, ink, paper, and inkstone. Each tool plays an important role in producing beautiful kanji script.
- Brush (fude, 筆) – A soft brush used as a writing instrument. Traditional calligraphy brushes have bamboo handles with bristles made from animal hair. The brush’s tip can create both thick and thin lines depending on pressure, making it ideal for the dynamic strokes of kanji. Use a larger brush for big characters and a smaller brush for practice or fine details. Always clean and dry your brush properly after use so it retains its shape.
- Ink (sumi, 墨) – The black ink used for writing. In traditional shodō, ink comes as a solid ink stick that you grind with water on an inkstone to produce liquid ink. Grinding the ink is a meditative part of the process, but beginners can also use bottled liquid sumi ink for convenience. The ink should be deep black and fluid (not watery) for strong, clear strokes.
- Paper (washi or hanshi, 紙) – Special calligraphy paper that is thin and absorbent. Washi (rice paper) or hanshi paper is preferred because it’s soft and fibrous, which allows the ink to be absorbed nicely without bleeding too much. This paper is usually natural off-white and slightly textured. It should not wrinkle easily when ink is applied. Lay the paper on a flat surface (often atop a felt pad or newspaper to absorb excess ink) and use a bunchin (paperweight) to keep it flat.
- Inkstone (suzuri, 硯) – A flat stone palette for grinding the ink stick and holding ink. You add a few drops of water to the inkstone and rub the ink stick in a circular motion to produce ink. A good inkstone is hard and has a smooth, flat surface. It usually has a well at one end where the ground ink pools. The inkstone represents the earth element among the four treasures and is essential for preparing traditional ink.
Having these tools ready and arranged neatly will set the stage for your practice. Take a moment to organize your workspace: place the paper, put the inkstone and ink to the side (on the right if you are right-handed), and have a rag or paper towel handy for dabbing excess ink or brush cleaning. With the proper tools in hand, you’re ready to start learning how to form beautiful kanji with the brush.

Basic Calligraphy Strokes and Their Importance
Japanese calligraphy is built on fundamental brush strokes. By mastering a few basic stroke techniques, you’ll be able to write complex kanji with confidence. Each kanji character is composed of strokes that must be drawn in a specific way. Here are three essential stroke forms to practice:
- Tome (止め) – a “stop” stroke. This means the stroke ends with a firm stop, where you press down slightly and lift the brush, creating a sharp end. Think of it as a definitive ending point to a line.
- Hane (跳ね) – a “jump” or flick stroke. Here, you end the stroke with an upward flick of the brush. The result is a tapered line that hooks outward or upward at the end. It gives characters a lively, dynamic feel.
- Harai (払い) – a sweep stroke. This stroke tapers off gradually. As you finish the line, you lighten pressure and smoothly sweep the brush off the paper, leaving a thin, flowing trail. Harai strokes often appear at the end of horizontal or diagonal lines, creating an elegant flourish.
These stroke techniques (stop, flick, and sweep) are the building blocks of most kanji. For example, the harai adds grace to the end of a horizontal line, while a hane gives a crisp hook to a diagonal stroke. Practice them individually so you can execute each with control.
In addition to stroke endings, pay attention to basic stroke directions: horizontal strokes (横画, yoko) drawn steadily from left to right, and vertical strokes (縦画, tate) drawn top to bottom. These straight lines must be smooth and confident because they form the framework of many kanji. A horizontal line should be level and even, and a vertical line should be appropriately straight (with a very slight natural curve) and well-proportioned.
Each stroke—whether a simple dot or a long sweep—requires precision and consistency. As you practice, concentrate on keeping your lines uniform (not shaky or blotchy) and ending each stroke correctly (with a clear tome, hane, or harai). Mastering these fundamentals will make your kanji look authentic and refined.
Step-by-Step: Writing Kanji with Proper Brush Technique

Now that you know the tools and basic strokes, let’s walk through writing a kanji character step by step. Find a comfortable spot at a table and get your materials ready. Calligraphy writing is as much about mindset as technique, so move through these steps calmly and deliberately.
-
Prepare Your Workspace and Mind: Set your paper (washi) on a flat surface and place a blotter or newspapers underneath to protect the table. Use a paperweight to keep the paper from moving. Ensure you have good lighting. Arrange your ink (or inkstone with ink stick) and brush within reach. Before you begin, clear your mind and relax – Japanese calligraphy requires focus. Sit up straight, take a couple of deep breaths, and center yourself. A calm, concentrated state will help your brushstrokes flow smoothly.
-
Load the Brush with Ink: If you are using an ink stick, prepare your ink by grinding the stick in a few drops of water on the inkstone until you have a pool of rich black ink (this can take a few minutes of circular grinding). If you have bottled liquid ink, pour a small amount into an inkstone or dish. Dip the tip of your brush into the ink. Gently rotate the brush as you dip, so the ink soaks all sides of the bristles. You want the brush head to be full of ink but not dripping. If there’s excess ink, lightly touch the brush to the edge of the inkstone or wipe a bit off on the rim to avoid blobs. Make sure the brush is evenly saturated; a well-inked brush produces smooth, dark strokes. (Tip: Both a bone-dry brush and an overly soaked brush can cause problems. If unsure, err on the side of a little extra ink – a slightly wet brush is easier to control than one that’s too dry).
-
Practice Basic Strokes (Warm-Up): Before drawing your kanji, do a quick warm-up. On a scrap piece of paper (or the corner of your practice sheet), try painting a few simple strokes. For example, draw a straight horizontal line from left to right, then a vertical line top to bottom. Focus on making the line steady and uniform, without wobbling. Also practice ending the strokes with the proper technique: try a horizontal line with a tome (stop it cleanly at the end) and another with a harai (release and taper off). This warm-up gets your hand used to the brush’s feel and the ink flow. It’s a small exercise that builds confidence and prepares you for writing the actual character.
-
Begin with a Simple Kanji: It’s best to start with an easy kanji that has only a few strokes. This allows you to apply the basic techniques without feeling overwhelmed. A good first character is “one” (一) – it’s just a single horizontal stroke! Another simple one is “person” (人) – two strokes that form a human-like shape. Visualize the kanji on your paper (you can imagine a centered square area where the character will fit). Hold your brush upright (perpendicular to the paper) with a relaxed grip. Position the brush where the first stroke should start (for “one”, that’s the left end of the horizontal line). Now, follow the correct stroke order – generally, write top to bottom, left to right for each part of the character. Press the brush down to begin the stroke, move it steadily across to create the line, and then execute the proper ending (for “one”, you’d do a tome: stop sharply at the right end of the line). Lift the brush off at the end of the stroke. If your kanji has additional strokes, continue to the next stroke in order. For “person (人)”, start with the left slanting stroke, then do the right slanting stroke second. Remember to keep each stroke deliberate and separate – finish one stroke completely before starting the next.
-
Complete the Character: Continue until all the strokes of the kanji are finished. Maintain your focus through each stroke, taking a tiny pause between strokes if needed to re-center. When the last stroke is done, lift your brush gently off the paper. Step back and look at your kanji. The ink dries very quickly on washi paper, so you’ll see the final result almost immediately. Evaluate your work: Is the kanji correctly formed and proportioned? Are the strokes solid black and confidently drawn, with clear edges? Don’t worry if it isn’t perfect – calligraphy is an art of refinement. Note one or two things you want to improve (maybe the second stroke was a bit light, or the balance is slightly off-center). Avoid going back and touching up with the brush; in traditional calligraphy, each stroke is done in one pass. Instead, it’s better to rewrite the character again on a new sheet, striving to apply those improvements.
-
Practice and Repeat: Gently place your finished calligraphy aside to dry (if it’s a practice sheet, you can just leave it where it is). Try the same character a few times on fresh paper, or move on to another simple kanji. With each repetition, your muscle memory and understanding will grow. Beginners often practice the same character many times, then move to more complex ones gradually. For example, once you’re comfortable with “one” and “person”, you might try a slightly harder kanji like “eternity” (永), which is famous for containing eight fundamental strokes in just one character. The key is consistent practice – every stroke you draw teaches you something. Feel free to experiment with different characters, but always pay attention to stroke order and technique. Over time, you will see your lines becoming more fluid and your kanji more balanced.
By following these steps, you’ll build a strong foundation in kanji calligraphy. Remember, even master calligraphers spend years honing the basics, so take your time with each stroke. The process is as rewarding as the finished piece!
Common Mistakes and Tips for Improvement

When learning calligraphy, it’s normal to encounter some challenges. Here are some common mistakes beginners make when writing kanji (and how to fix them):
- Ignoring Stroke Order: Skipping or rearranging the standard stroke order is a frequent mistake. Writing strokes out of order can make a kanji look awkward or unbalanced. For example, drawing a bottom line before the parts above it might misplace the character’s “center of gravity.” Tip: Always follow the correct stroke order for each kanji – usually top-to-bottom and left-to-right. If you’re unsure, check a kanji dictionary or a reliable chart that shows the stroke sequence. Sticking to proper order will help your kanji maintain their intended shape and structure.
- Not Finishing Strokes Properly: Beginners often lift the brush too early or fail to execute the proper tome, hane, or harai. This results in strokes that fade out or end bluntly when they shouldn’t. For instance, a stroke that should end with a sharp flick (hane) might look dull if you don’t flick upward, or a line that should stop (tome) might trail off. Tip: Pay attention to how each stroke should end. Practice the ending motions in isolation – press and pause for tome, quick flick for hane, slow lift for harai. When writing a character, commit to each stroke’s finish. A kanji looks much more polished when its strokes have clear, intentional endings.
- Using Too Much or Too Little Ink: Getting the ink load right can be tricky. If your brush has too much ink, you’ll get heavy blobs, bleeding, or even accidental drips that smear your work. On the other hand, too little ink will produce faint, scratchy lines that break in the middle. Both can be frustrating! Tip: Aim for a moderate ink saturation in the brush. The brush should be full, but not dripping. Test on scrap paper if needed: The stroke should be solid black but not seeping excessively through the paper. If your first stroke comes out puddled, dab the brush on the inkstone edge to remove excess. If it’s too light or dry, load a bit more ink. With experience, you’ll sense the right amount. In the beginning, it’s actually safer to have a tad more ink than not enough, because a slightly wet stroke is easier to control than a broken dry one. As you practice, you’ll learn to load the brush with just the right amount each time.
- Pressing Too Hard or Writing Too Fast: If you press the brush into the paper with too much force, the bristles splay out and your strokes become overly thick and hard to control. Similarly, if you rush through strokes, they may turn out crooked or messy (and you might miss the proper stroke endings). Calligraphy is about flow, not brute force. Tip: Use a light, relaxed grip and let the brush glide over the paper. You should feel the brush tip touching the paper, but you don’t need to push down heavily – the weight of the brush itself is often enough to make a mark. Slow down and give each stroke your full attention. A good guideline is “not rushed but with intention” – move the brush at a steady pace. If you notice yourself tensing up, pause, take a breath, and then continue. A smoother, gentler approach will immediately improve the look of your strokes.
- Unbalanced Characters: Another common issue is that the finished kanji looks lopsided – perhaps one side is too large, or a particular stroke is off-center. This usually happens when we focus on individual strokes and forget to observe the whole. Tip: After drawing each stroke, briefly check the overall shape of the character. Maintain consistent spacing and sizing of strokes relative to each other. For example, in a symmetrical kanji like "日" (sun), the outer box sides should mirror each other in length; if one side is longer, the character looks uneven. A handy practice is to lightly sketch or envision a square outline and try to fit your kanji within it. With practice, your eyes will be trained to see proportional differences. You can also compare your work to a model character to spot which part is off and adjust it in the next attempt.
- Inconsistent Stroke Width: Sometimes beginners get very thick strokes in one part of the kanji and very thin strokes in another, not on purpose but due to uneven pressure. This can make the kanji look inconsistent. Tip: Work on pressure control. Remember that pressing harder makes a thicker line and easing up makes a thinner line. As an exercise, try writing a single stroke and deliberately vary the pressure to see how it affects the line. When writing actual kanji, be conscious to apply uniform pressure where a stroke should be uniform and a planned variation where the stroke should taper. Over time, your hand will develop a steady touch.
- Neglecting Practice (or Getting Impatient): Lastly, a big mistake is expecting perfect results immediately. If a beginner’s kanji doesn’t look like a master’s, they might get discouraged. But remember, every calligrapher started just like you – with wobbly lines! Tip: Keep practicing the basic strokes and simple kanji regularly. Consistent practice is the only way to build muscle memory and confidence. Even 10-15 minutes a day of focused practice can make a difference. Also, don’t be too hard on yourself; instead, enjoy the learning process. Over time, you’ll notice improvement. Save your old practice sheets so you can look back in a few months and see how much you’ve progressed – it’s very motivating!
By being mindful of these common pitfalls and applying the tips, you’ll steadily improve your kanji calligraphy. Remember that mistakes are part of the learning curve. Each error actually teaches you something (maybe you learned how not to hold the brush or the importance of a slow finish on a stroke). Embrace those lessons, and keep practicing. With patience and dedication, your kanji will grow more elegant and precise.
Conclusion: Try Calligraphy Your Own
Writing kanji in Japanese calligraphy is a rewarding journey of both skill and self-improvement. With the essential tools in hand and an understanding of basic strokes, you can begin to transform simple ink and paper into beautiful art.
At Kaorusho Japanese Calligraphy School, guided by our master instructor, you can deepen your shodō skills. Our classes in Tokyo offer hands-on learning, personalized advice, and a calm environment to practice this traditional art.
If you can’t visit us in person, join our Online Japanese Calligraphy Course. Learn authentic calligraphy techniques from anywhere in the world and bring the beauty of shodō into your daily life.
Remember, the art of writing kanji elegantly comes with practice, patience, and tranquility. Start your calligraphy journey today and discover the beauty of shodō firsthand.
Explore Japanese Calligraphy Classes at Kaorusho:
%20is%20the%20artistic%20way%20of%20writing%20kanji%20characters%20with%20a%20brush%20and%20ink.%20It%20is%20one%20of%20Japan%E2%80%99s%20most%20revered%20traditional%20arts%E2%80%8B.%20In%20shod%C5%8D,%20each%20stroke%20is%20made%20with%20mindfulnes...)